Micro Tutorial: EEPROM
Practical Introduction
Have you ever wondered how your favorite device remembers your settings even after being turned off? A little chip called EEPROM plays a crucial role in this process. Knowing how EEPROM works can empower you to design smarter electronics. This tutorial will delve deeper into the intricacies of EEPROM, exploring its fundamentals, functionality, applications, best practices, and limitations. By the end of this guide, you’ll have a comprehensive understanding of how to effectively utilize EEPROM in your projects.
Fundamentals
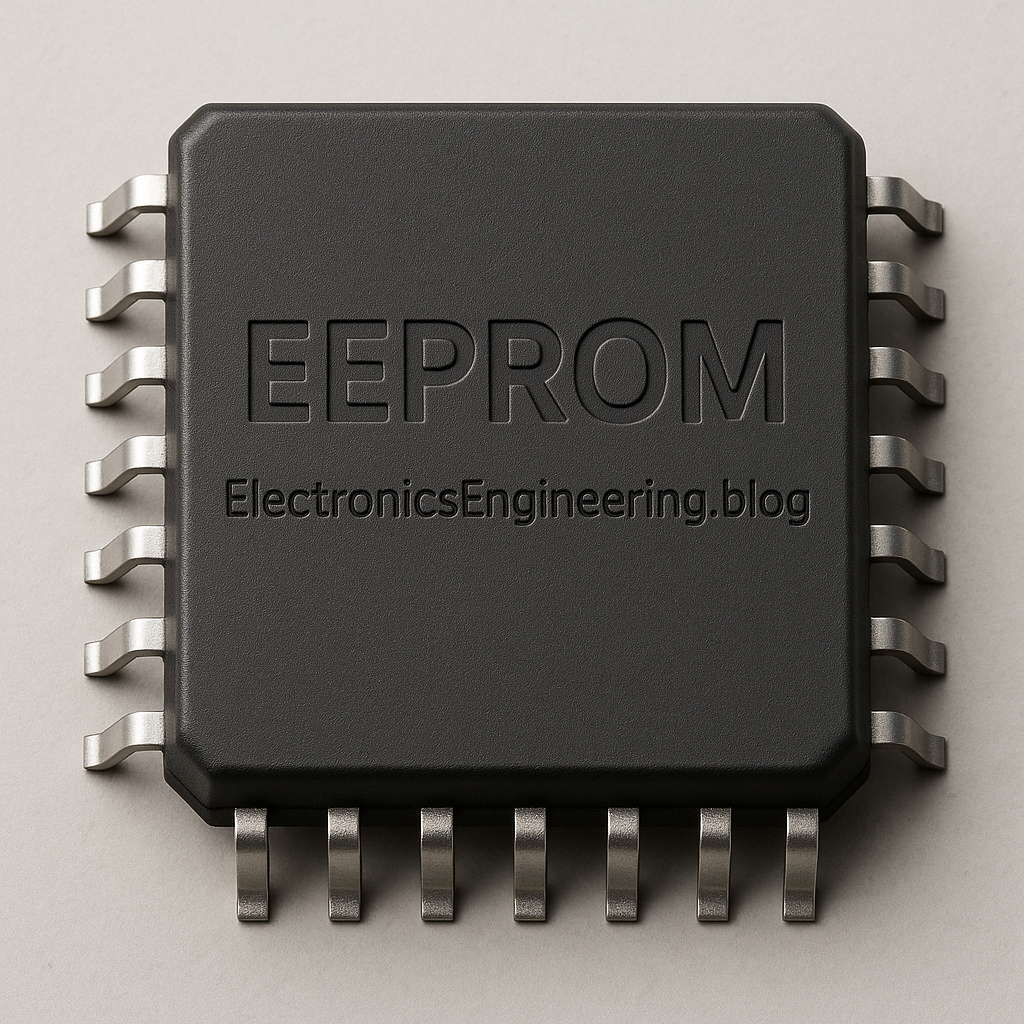
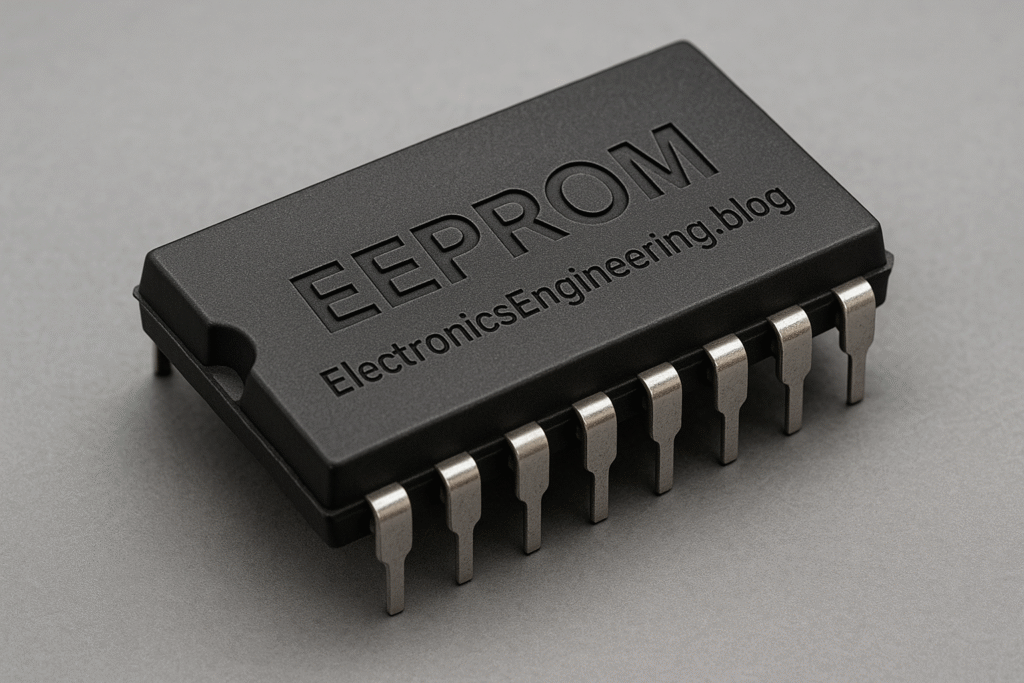
EEPROM stands for Electrically Erasable Programmable Read-Only Memory. It is a type of non-volatile memory, which means it retains stored data even when the power is turned off. This characteristic makes EEPROM particularly valuable for applications where critical data must be preserved without continuous power supply.
Characteristics of EEPROM
- Non-Volatile Storage: Unlike volatile memory types such as RAM, EEPROM retains its data without needing a power source.
- Rewritable: EEPROM allows multiple write and erase cycles, making it suitable for applications where data needs to be updated frequently.
- Byte-Addressable: Unlike Flash memory, which is typically page-addressable, EEPROM can be accessed and modified one byte at a time.
- Endurance: EEPROM chips can typically endure around 1 million write/erase cycles, making them reliable for long-term use.
How EEPROM Differs from Other Memory Types
EEPROM is often compared to other types of memory, such as Flash and RAM. Understanding these differences can help you choose the right memory type for your application:
-
EEPROM vs. Flash: While both are non-volatile, Flash memory is usually faster and can store larger amounts of data. However, Flash memory is generally less flexible in terms of writing and erasing data, as it operates in larger blocks rather than byte-by-byte.
-
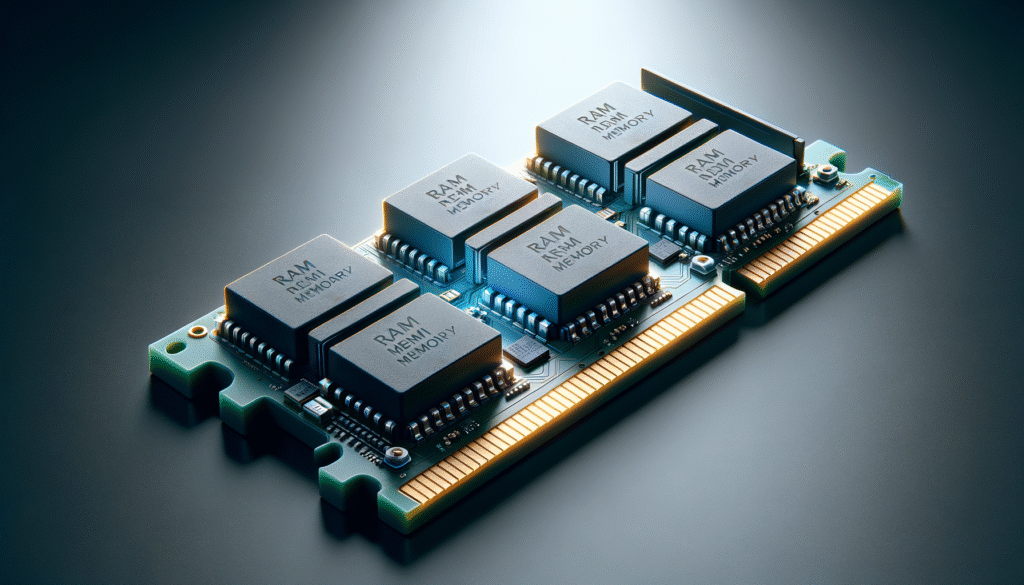
EEPROM vs. RAM: RAM is volatile and loses its data when power is removed. It is much faster than EEPROM, making it suitable for temporary data storage during active processing tasks. However, it cannot retain information after a power loss, which is where EEPROM shines.
How EEPROM Works
EEPROM consists of a matrix of floating-gate transistors. Each cell in the EEPROM array can hold a charge, representing binary data (0s and 1s). Here’s a closer look at how the writing and reading processes occur in EEPROM:
Writing Data
When you want to write data to an EEPROM cell, an electrical charge is applied, allowing electrons to tunnel into the floating gate of the transistor. This tunneling effect alters the charge state of the cell, representing the desired data. The process involves:
- Sending a command to the EEPROM chip indicating which address to write to.
- Applying a high voltage to the selected cell, allowing electrons to move into the floating gate.
- Once the charge is stored, the data can be read later.
Reading Data
To read data from an EEPROM cell, the chip measures the threshold voltage of the floating-gate transistor. If the charge is above a certain level, it indicates a binary ‘1’; if it’s below, it indicates a binary ‘0’. This process involves:
- Sending a read command to the EEPROM chip.
- The chip then determines the charge state of the targeted cell and returns the corresponding binary value.
Erasing Data
Erasing data in EEPROM typically involves resetting the entire memory block to a default state (usually all 1s). This is necessary because you cannot overwrite data directly; the entire block must be erased before new data can be written. The erasure process can take longer than writing, which is an important consideration when designing applications that utilize EEPROM.
Common Applications
EEPROM is widely used in various electronic devices due to its unique properties. Some notable applications include:
-
Storing Configuration Settings: Devices like printers, routers, and cameras often use EEPROM to save user preferences and configurations, ensuring that settings are retained even after power loss.
-
Firmware Storage: Microcontrollers may utilize EEPROM to store firmware updates or critical data. This ensures that even if the device is powered off, it can still operate smoothly upon restart.
-
Calibration Data: Many sensors use EEPROM to store calibration coefficients. This is essential for maintaining accurate measurements over time, especially in precision applications.
-
Identity Storage: Embedded systems often use EEPROM to store unique identifiers, such as serial numbers, enhancing traceability and security in various applications.
-
Data Logging: Some devices use EEPROM to log data over time, such as environmental sensors that record temperature or humidity levels.
-
User Preferences: In consumer electronics, EEPROM can store user settings, such as equalizer settings in audio devices or display brightness levels in screens. This enhances user experience by preserving personal preferences.
Writing and Erasing Data
You might be curious about how the writing and erasing processes occur in EEPROM. When you want to write new data, you send a specific command to the memory chip. The chip then alters the charge in the targeted cells. For erasing, the entire memory block is usually reset to a default state, typically all 1s, and then you can rewrite the desired data.
Speed and Endurance
EEPROM chips generally have slower write speeds compared to other memory types like RAM or Flash. However, they are quite reliable. Most EEPROMs can endure around 1 million write/erase cycles before any degradation occurs. This endurance makes them suitable for applications where data doesn’t change frequently but must be retained reliably.
Limitations
Despite their advantages, EEPROMs have certain limitations. Writing data to EEPROM is relatively slow, and the number of write cycles is finite. Additionally, they often have a limited storage capacity compared to other non-volatile memory types. Therefore, understanding these limitations is crucial when choosing the right memory for a specific application.
Some additional limitations to consider include:
- Power Consumption: EEPROM can consume more power during write and erase operations compared to reading data. This is an important factor in battery-powered devices.
- Data Corruption Risks: If power is lost during a write operation, it can lead to data corruption. Implementing safeguards, such as checksums, can help mitigate this risk.
Summary
In summary, EEPROM offers a versatile solution for non-volatile storage in various electronic devices. Its ability to retain data without power, alongside its rewritable nature, makes it an essential component in modern electronics. Understanding how EEPROM works and its limitations will help you make informed decisions when integrating it into your projects.
Key Parameters
When selecting an EEPROM for your project, it’s vital to consider some key parameters. These include:
- Storage Capacity: Ranges from 1 kbit to 64 Mbit, depending on the application requirements.
- Write Cycle Endurance: Typically around 1 million cycles, which affects how often you can update the data.
- Data Retention: Usually between 10 to 100 years, ensuring that your data remains intact over time.
- Operating Voltage: Commonly between 2.7V to 5.5V, which is essential for compatibility with your microcontroller or other components.
- Write Speed: Generally between 5 ms to 10 ms, impacting the overall system performance.
Concrete Use Case
Let’s consider a concrete use case: designing a digital thermostat using EEPROM. In a smart home environment, a digital thermostat is essential for maintaining comfortable temperatures. This device not only requires accurate temperature readings, but it also needs to remember user settings and preferences even when power is lost.
Step 1: Requirements Gathering
Before diving into the design, you must gather requirements. For instance, the thermostat should:
- Adjust the temperature based on user settings.
- Store settings like target temperature and daily schedules.
- Retain information during power outages.
Step 2: Selecting Components
For this project, you will need:
- Microcontroller (MCU): Choose one with an integrated EEPROM or a separate EEPROM chip that meets your capacity needs.
- Temperature Sensors: Select reliable sensors to provide real-time temperature data.
- User Interface: Incorporate buttons or a touchscreen for user input.
- Display: Use an LCD or LED display to show current settings and temperature.
Step 3: Designing the System
In this design, the microcontroller will handle all operations, including reading temperature data and managing user inputs. The EEPROM will store important data, such as:
- User-defined preferences (e.g., target temperature, heat or cool mode).
- Daily schedules for temperature adjustments based on time.
- Last known settings in case of power loss.
Step 4: Implementing the Code
Now, you’ll write the firmware for the microcontroller. Make sure to include functions to:
- Read temperature from the sensors.
- Update settings based on user input.
- Write and read data from the EEPROM. Here’s a simple code snippet to illustrate this:
c\n#include <EEPROM.h>\n\nvoid writeSettingToEEPROM(int address, int value) {\n EEPROM.write(address, value);\n}\n\nint readSettingFromEEPROM(int address) {\n return EEPROM.read(address);\n}\n\nvoid setup() {\n // Initialize your components here\n}\n\nvoid loop() {\n // Main logic for reading temperature and updating settings\n int targetTemp = readSettingFromEEPROM(0); // Read target temperature from EEPROM\n // Logic to adjust temperature based on targetTemp\n}\n
Step 5: Testing and Validation
After implementing the hardware and software, you need to test the system. Ensure that:
- User settings are correctly stored and retrieved from EEPROM.
- The device operates as intended during various scenarios, including power loss.
- The temperature readings are accurate and responsive.
Step 6: Fine-Tuning
Once testing is complete, you may want to make adjustments based on user feedback. This could involve refining the user interface or optimizing the reading and writing processes to enhance performance.
In conclusion, using EEPROM in your digital thermostat design ensures that user preferences are preserved, enhancing the overall user experience. This example illustrates the practicality of EEPROM in real-world applications.
Common Mistakes and How to Avoid Them
When working with EEPROM, it’s easy to make some common mistakes. Here’s how you can avoid them:
-
Overwriting Data Frequently: Remember that EEPROM has a limited number of write cycles. Minimize unnecessary writes to extend its lifespan. Use techniques such as buffering or only writing when necessary.
-
Ignoring Data Retention: Be mindful of the data retention period. Test the EEPROM to ensure it retains data for the required duration, especially in critical applications.
-
Not Handling Power Loss: Ensure your design accounts for power interruptions. Implement backup routines to safeguard critical data, such as saving settings at regular intervals.
-
Underestimating Write Speed: Since EEPROM has slower write speeds compared to other memory types, avoid using it for high-frequency data logging. Instead, consider using RAM for temporary data storage.
-
Neglecting Proper Addressing: Always ensure you’re writing to the correct addresses to prevent data corruption. Implement error-checking mechanisms to validate the integrity of the stored data.
Conclusion + Call to Action
In conclusion, EEPROM is a versatile and essential component in electronics. Its ability to retain data without power makes it a popular choice for various applications. By understanding how EEPROM works and avoiding common pitfalls, you can effectively integrate it into your projects. Start experimenting with EEPROM in your designs, and you’ll unlock new possibilities for data storage and retention.
For more insights and information on electronics and computer engineering, visit us at electronicsengineering.blog. Dive into more tutorials, share your projects, and connect with a community of like-minded enthusiasts!
Quick Quiz
Question 1: What does EEPROM stand for?
Question 2: Which characteristic of EEPROM allows it to retain data without power?
Question 3: How many write/erase cycles can EEPROM typically endure?
Question 4: What is a key difference between EEPROM and Flash memory?
Question 5: Which type of memory is suitable for applications where data needs to be updated frequently?
Third-party readings
- Lectura y escritura de EEPROMs en serie – SparkFun Learn
- Introducción a la Interfaz Periférica Serial | Arduino
- Tutorial de Arduino EEPROM con código de ejemplo – Embedded There
Find this product on Amazon
As an Amazon Associate, I earn from qualifying purchases. If you buy through this link, you help keep this project running.


