Micro Tutorial: EEPROM
Practical Introduction
Have you ever lost important configuration data on a device? I once did with a microcontroller. Since then, I became a huge advocate for EEPROM, which allows you to store data even when the device is powered off.
What it is used for and how it works
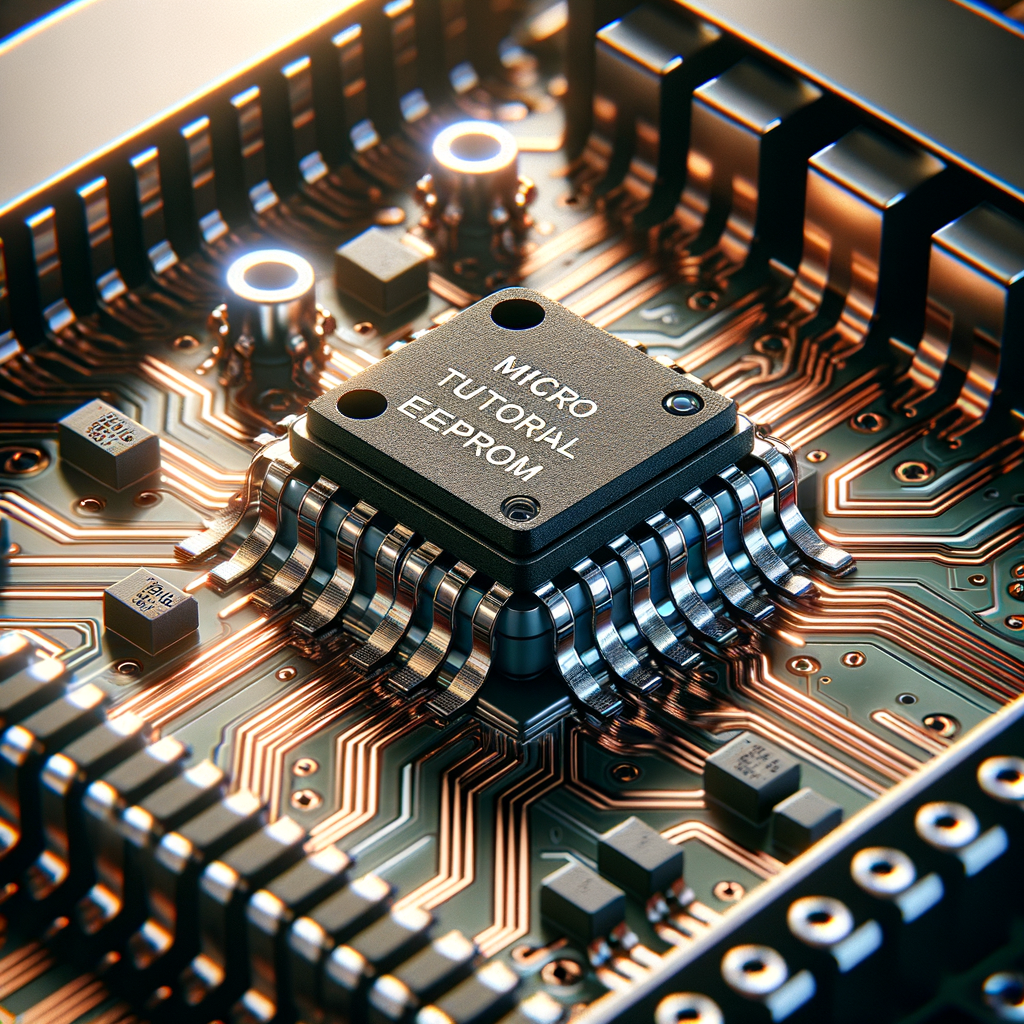
EEPROM, or Electrically Erasable Programmable Read-Only Memory, is a type of non-volatile memory that allows data to be stored even when the power is off. This is crucial for applications where you need to maintain settings, parameters, or critical data.
EEPROM is commonly used in various devices such as memory cards, microcontrollers, and embedded systems. For instance, if you have a digital thermostat, it likely uses EEPROM to save the programmed temperature. This means that even if power is lost, the thermostat will remember the setting when it is turned back on.
The operation of EEPROM is based on a write and erase process that uses electrical charges in memory cells. Each cell can be programmed (written) and erased electrically, allowing for multiple reprogramming cycles. However, unlike SRAM or DRAM, EEPROM has a limited number of write cycles, typically ranging from 10,000 to 1,000,000 cycles, depending on the model.
Due to its nature, EEPROM is slower than other memory types like SRAM. However, its ability to retain data without power makes it valuable in many applications. Additionally, its compact size and low power consumption make it an ideal choice for portable devices.
Key Parameters
| Parameter | Typical Value |
|---|---|
| Capacity | 1 KB – 1 MB |
| Write Cycles | 10,000 – 1,000,000 |
| Operating Voltage | 1.8V – 5.5V |
| Write Time | 5 ms – 10 ms |
| Cell Size | 1 byte |
Concrete Use Case
Imagine you are designing a control system for a home automation device. This system needs to store configurations such as on and off schedules, as well as user preferences. This is where EEPROM comes in handy. By using a 512 KB EEPROM, you can securely store multiple configurations without worrying about losing data during a power outage.
The implementation is straightforward. You can connect the EEPROM to a microcontroller via an I2C or SPI bus, allowing for easy data reading and writing. When a user sets a new schedule, the microcontroller sends the information to the EEPROM, which safely stores it. Then, when the device restarts, the microcontroller reads the configuration from the EEPROM and resets the programmed schedule.
Moreover, since multiple write cycles are possible, you can update the configuration without fear of damaging the memory. However, it’s essential to keep the maximum write cycles in mind to avoid future issues. Therefore, it is advisable to design the system in such a way that writing to the EEPROM occurs only when necessary, minimizing the wear on the device.
Common Mistakes and How to Avoid Them
- Not considering the write cycle limit: Plan writes to avoid exceeding the cycle limit.
- Not implementing a backup system: Always good to have a backup for critical data.
- Not considering write time: Ensure your application appropriately manages write times, as it is slower than other memories.
- Forgetting data protection: Consider including mechanisms to prevent accidental writes.
- Not using the correct address: Ensure memory addresses do not overlap when writing to EEPROM.
Conclusion + Call to Action
EEPROM is a valuable tool for any electronics engineer or programming enthusiast. Its ability to retain data without power makes it an ideal choice for a wide range of applications. Remember, while it has its limitations, with proper planning, you can maximize its use and avoid common mistakes. If you want to learn more about this topic and other concepts in electronics, feel free to explore more resources.
More information at electronicsengineering.blog
Quick Quiz
Question 1: What does EEPROM stand for?
Question 2: What is a typical capacity range for EEPROM?
Question 3: How many write cycles can EEPROM typically handle?
Question 4: Why is EEPROM valuable in applications?
External sources
- Lectura y escritura de EEPROMs en serie – SparkFun Learn
- Introducción a la Interfaz Periférica Serial | Arduino
- Cómo usar EEPROM en Arduino – Circuit Basics


